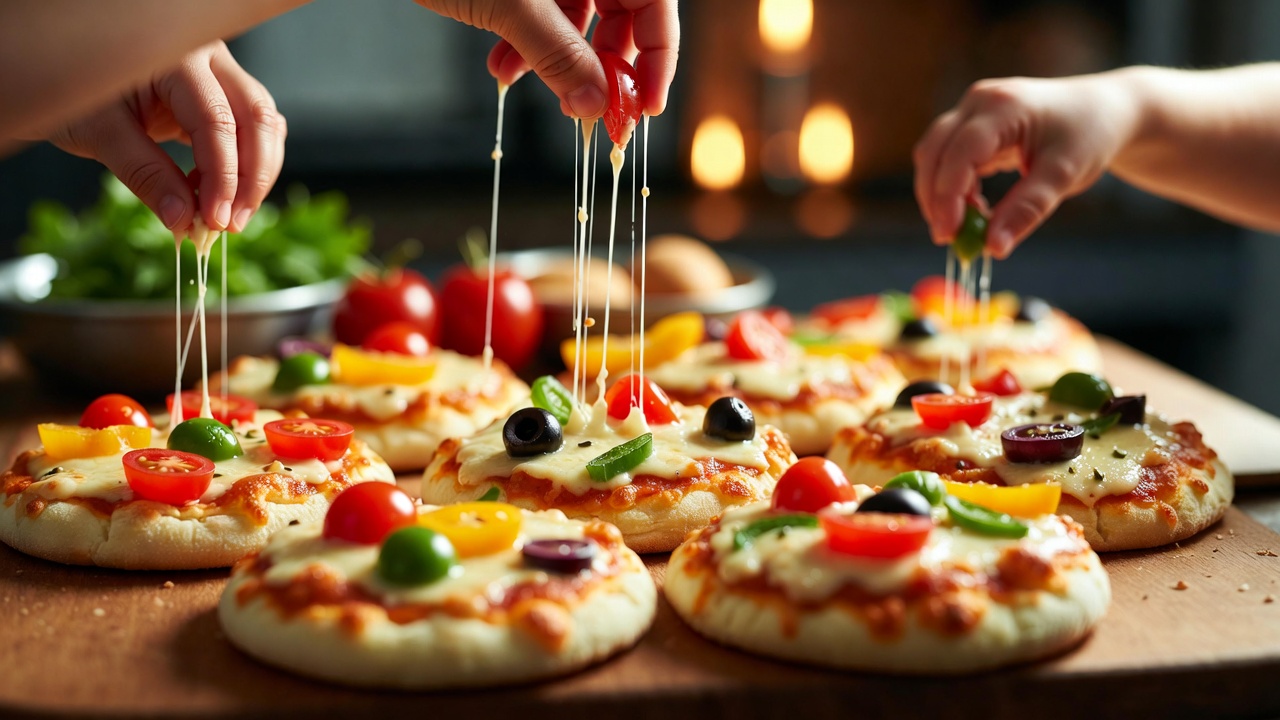
Cooking with kids doesn’t have to be messy or stressful. In fact, it can be one of the most fun and meaningful activities you do together. Mini pizzas are the perfect recipe to get kids involved in the kitchen — they’re easy, safe, customizable, and incredibly fun to make.
Whether it’s a weekend activity, a birthday party idea, or a quick lunch, these mini pizzas turn cooking into playtime while helping kids learn basic food skills.
Why Mini Pizzas Are Perfect for Kids
Mini pizzas are more than just food — they’re a hands-on experience.
Here’s why kids love them:
- Kids get to choose their own toppings
- Small size feels “made just for me”
- No complicated steps
- Bright colors and fun shapes
- Cheese makes everything better 😄
Why parents love them:
- Encourages independence
- Introduces kids to cooking safely
- Easy to sneak in veggies
- Quick preparation
- Minimal cleanup
Age Guide: Who Can Help With What
| Age Group | What They Can Do |
|---|---|
| 3–4 years | Sprinkle cheese, place toppings |
| 5–7 years | Spread sauce, choose toppings |
| 8–10 years | Assemble pizzas, learn measurements |
| 11+ years | Help with baking (with supervision) |
Ingredients for Kid-Friendly Mini Pizzas
Keep ingredients simple and familiar.
Base Options
- English muffins
- Mini pita bread
- Bread slices (use cookie cutters for fun shapes)
- Mini naan
Sauce
- Pizza sauce
- Tomato ketchup (for picky eaters)
- Mild marinara
Cheese (star of the show 🧀)
- Mozzarella (best for melting)
- Cheddar (adds flavor)
- A mix of both
Fun Toppings (Kid-Approved)
- Sweet corn
- Bell peppers (red, yellow, green)
- Olives
- Cooked chicken pieces
- Mini pepperoni
- Pineapple chunks
Step-by-Step: How Kids Can Make Their Own Mini Pizza
Step 1: Set Up a “Pizza Station”
Lay out all ingredients in small bowls. This makes kids feel like real chefs and keeps things organized.
Step 2: Spread the Sauce
Give kids a spoon and let them spread sauce gently on the base. No need to be perfect — messy is fun!
Step 3: Add the Cheese
Let kids sprinkle cheese generously. This is usually their favorite step.
Step 4: Decorate With Toppings
Encourage creativity:
- Make smiley faces
- Create patterns
- Spell initials with toppings
Step 5: Bake (Adult Help Needed)
- Preheat oven to 180°C (350°F)
- Bake for 8–10 minutes
- Cheese should be melted and bubbly
Fun Variations Kids Love
🍕 Pizza Faces
Use olives for eyes, peppers for smiles, and corn for noses.
🌈 Rainbow Veggie Pizza
Challenge kids to add toppings of different colors.
🐻 Animal-Shaped Pizzas
Use cookie cutters to make fun shapes before adding toppings.
🧁 Pizza Cups
Use a muffin tray and press bread inside for pizza cups.
Making It Healthier Without Complaints
- Use whole-wheat bases
- Add finely chopped veggies under the cheese
- Control portion size naturally with mini pizzas
- Use less sauce and more veggies
Kids often eat healthier when they make the food themselves.
Learning Benefits for Kids
Cooking mini pizzas helps kids:
- Improve motor skills
- Learn food names and colors
- Practice decision-making
- Build confidence
- Develop healthy eating habits
Plus, kids are more likely to eat what they create.
Perfect Occasions for Mini Pizza Day
- Weekend family cooking time
- Birthday parties
- Playdates
- School holidays
- Rainy day activities
You can even turn it into a “Pizza Night” tradition.
Final Thoughts
Mini pizzas are simple, cheesy, and endlessly fun. They turn kids into little chefs and transform mealtime into something exciting and interactive.
At Kids and Cheese, we believe that when kids cook, they smile — and when cheese is involved, everyone’s happy.
So roll up those sleeves, sprinkle the cheese, and let the pizza magic begin 🍕✨